


Wondering if you can dye your halo extensions? Our expert guide covers compatibility, techniques, risks, & aftercare to help you achieve beautiful results
The process of dyeing halo hair extensions exists, but it requires careful attention because methods will not work.
The extensions should not be dyed without proper preparation and correct techniques and maintenance. The outcome of the entire process depends on your approach because it determines whether you will get beautiful extensions or permanent damage.
This guide provides complete information about the process, including professional advice and final outcome expectations, and proper and improper procedures.
Understanding Halo Hair Extension Materials (Texture)
Before dyeing your halo hair extensions, you need to understand their material composition, because different types react differently to color treatments.
Human Hair Extensions (Remy)
Before anything else, brush your halo extensions using a wide-tooth comb or a detangling brush. Start at the ends and work your way up. Always hold the top of the weft to avoid tugging or pulling.
The hair accepts dye, but the outcome will differ from one color to another. The hair from different donors forms each halo and has already experienced processing before reaching you.
The application of dye will result in uneven color distribution, and toners may produce patchy effects. When coloring your hair, choose shades that are one or two levels deeper than your natural color—but always perform a test before starting. Bleaching is a no-go.
Synthetic Hair Extensions
These cannot be dyed. Synthetic fibers do not react to color application in the same way that real hair does. The dyeing process will result in damage to these extensions. The best approach to achieve your desired look would be to purchase a fresh set of extensions in the desired color.
Mixed or Specialty Extensions
These extensions contain a combination of human hair and synthetic fibers. These are tricky. Synthetic parts of the hair will not react to color treatment, even though the hair contains human components. The combination of patchy color effects with possible damage to the hair will occur. These extension types should never be dyed.
| Halo | Clip-in | Glue/Tape-in | Sew-in Weaves | |
|---|---|---|---|---|
| Damage | No damage sits on an invisible wire | Low risk if worn occasionally, but frequent use can cause breakage | Adhesive may weaken hair over time, especially with removal | Tension from braids can cause hair breakage |
| Installation Time | Under 1 minute | 5-15 minutes | 30-60 minutes—requires professional application | 2-4 hours—salon required |
| Comfort Level | Lightweight, no headaches | Can feel bulky with multiple wefts | Tape can feel tight at first | Can feel heavy and tight, especially after installation |
| Styling Freedom | Can be curled, straightened & styled easily | Very flexible for styling | Heat should be kept away from adhesive areas | Styling is limited by track placement |
| Best for Beginners | Easiest option—no skills required | Easy once placement is learned | Requires professional application & removal | Requires professional salon work |
- Clip-in extensions connect to your hair through small clips. The regular process of clipping and unclipping extensions produces root tension that results in hair breakage and thinning and potentially leads to complete baldness.
- Tape-ins function by sticking directly to your hair using adhesive strips. The adhesive process leads to dryness in hair strands and weakening of hair structures when used multiple times.
- Microbeads require crimping sections of your hair using small metal rings. The tight pressure from these products damages hair cuticles which results in breakage of the hair fibers.
- Glue-ins and bonded extensions use chemical adhesives for attachment. The same dryness issues that tapes cause also affect these products by damaging them over time.
- Weaves are sewn into hair that has been tightly braided. The hair loss risk from scalp tension exists when using this method, and the process becomes painful because of the strain.

Important Considerations Before Dyeing: Why Be Cautious
Remy halo hair extension dyeing remains possible but requires careful attention to specific factors. Before beginning your dyeing process, you need to understand these essential points.
1. Current Color Assessment
The initial color of your extensions determines the outcome of the process. Each halo piece comes from different donor hair sources, so they will never match perfectly. The results will remain inconsistent despite using identical dye products on two halos.
A light-colored halo can be successfully toned with darker shades. Going lighter? The process of bleaching is not recommended at all.
2. Type of Compatible Dye
Select only salon-grade semi- or demi-permanent dyes specifically formulated for Remy human hair. Stay away from cheap store-bought dyes and strong chemical products. Before applying dye to your halo, perform a test patch on a concealed section.
3. Color Limitations
The recommended color changes include darkening the hair or making subtle tonal modifications. Bleaching your hair to lift the color will probably damage the texture and cause the hair to become dry and brittle. You can’t undo that damage. Want ombre? The ends can be toned darker—but always test first and proceed with caution.
4. Potential Damage Risks
The process of dyeing processed hair poses constant risks, especially when working with extension hair, which remains delicate. The hair has received previous chemical treatments to achieve its present state, thus, additional chemical applications may result in uneven color and dryness, and potentially destroy the entire piece. When in doubt, always take your halo to a stylist who specializes in Remy hair extensions.

Step-by-Step Dyeing Process
When dyeing your halo hair extensions at home, you can achieve great results if you follow the correct steps while being cautious throughout the entire process. Due to their delicate nature and existing processing, the extensions require gentle handling at every stage of the dyeing process.
The following guide presents all necessary steps from preparation through post-dye care and includes expert advice.
Step 1. Preparation
You need to prepare all the essential tools and products that you will need for the dyeing process:
Materials:
- Salon-grade semi- or demi-permanent dye (not box dye)
- 10-volume developer (gentle enough for extensions)
- Color bowl & application brush
- Hair dye gloves
- Tin foil or plastic wrap
- Wide-tooth comb
- Towel (preferably old or dark-colored)
- Sulfate-free shampoo & deep conditioner
- Leave-in conditioner
- Heat protectant (for post-dye styling)
The workspace needs proper preparation:
Working on any surface requires protective measures with foil or old towels because dyeing operations produce messy conditions. The task requires working under bright illumination with simple water access. Place the extensions flat on foil or plastic wrap
Wash the extensions:
The halo extension set includes pre-conditioned silky protection that needs to be removed before dye application. The dye will not penetrate the hair fibers if this process is not performed.
Mix lukewarm water in your sink while adding 2–3 shampoo pumps to it. - Submerge one weft at a time, gently cleansing the hair without rubbing.
- Rinse with clean water and gently squeeze out excess moisture.
- Dry the extensions flat in an open position until they reach complete dryness before moving to the next step. At this point, you must refrain from using heat.
- Heat protectant (for post-dye styling)
Step 2. Strand Testing
Always perform strand testing before dyeing your entire set.
- A concealed 1-clip section of weft should be selected.
- Dilute the dye mixture according to the recommended guidelines before allowing it to sit for the specified time period.
- After rinsing the strand, apply dry conditions to see the final result.
This procedure demonstrates the hair's dye response, which helps you identify potential color irregularities or unexpected tones that may appear.
Step 3. Application Process
The following application steps should be followed after you put on your gloves:
If using regular dye:
- Follow the instructions to prepare the color mixture by combining it with the developer solution in equal proportions.
- Position each weft flat on top of the foil.
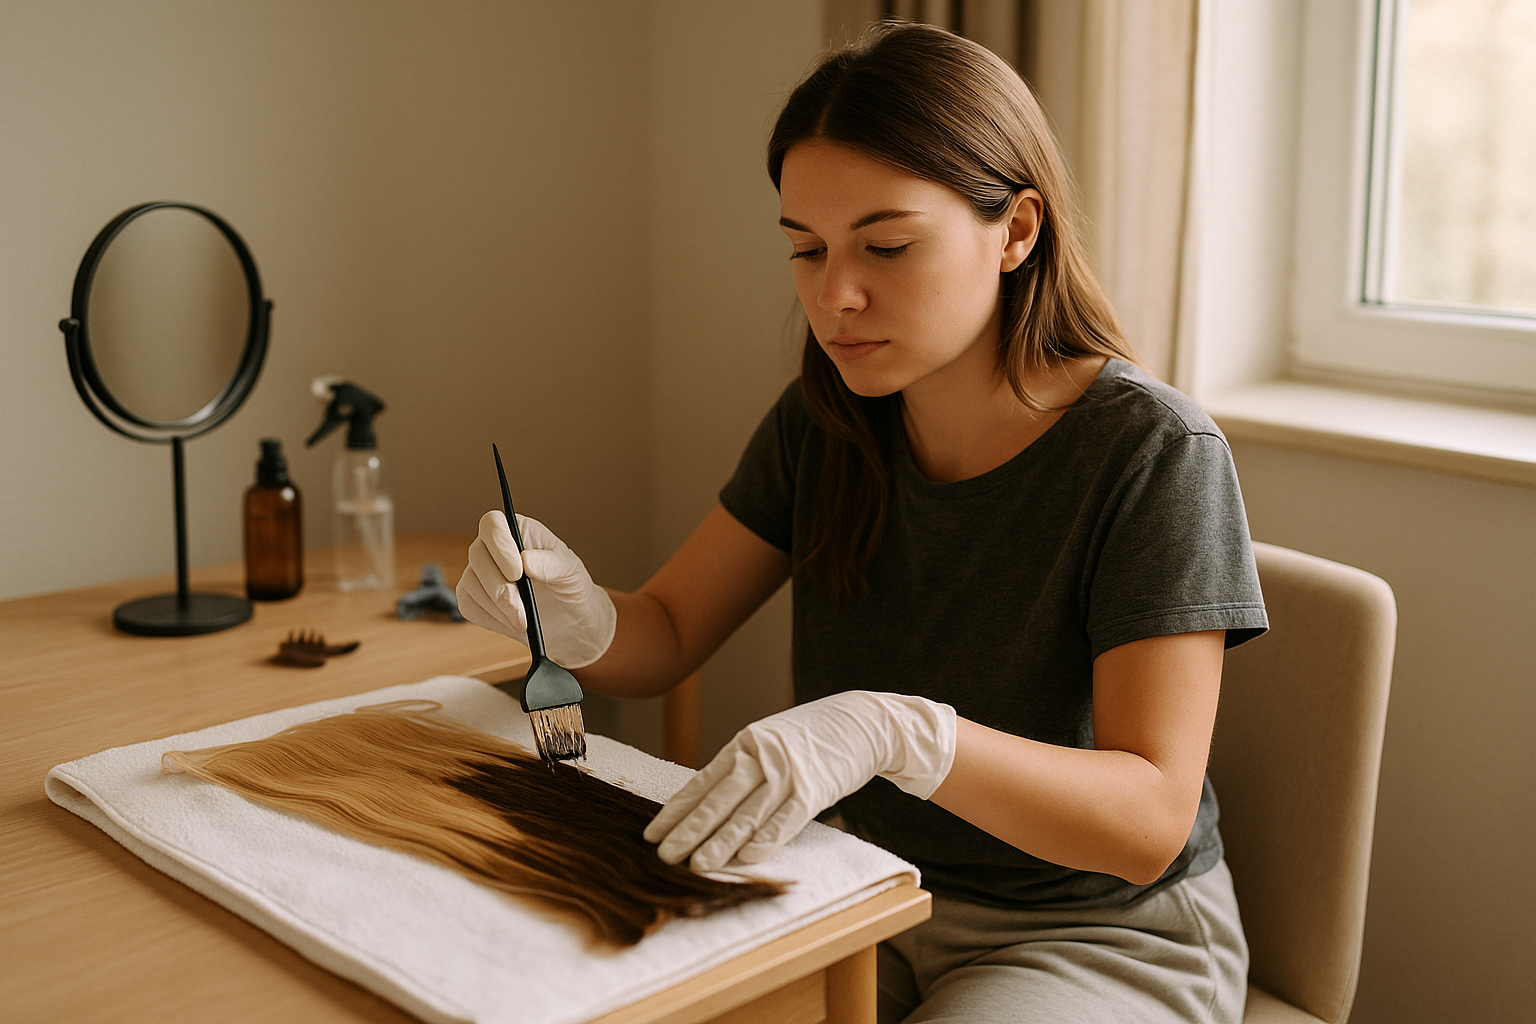
- Apply dye from top to bottom direction with your brush while avoiding upward strokes, since this method minimizes both frizz and breakage.
- Both sides of the weft must receive an equal amount of dye saturation for proper results. Every single hair strand needs to receive adequate dye coverage.
Pro tip: Before starting the coloring process, you need to have sufficient dye on hand. Using up the dye supply in the middle of dyeing may produce color variations throughout your extensions.
For dyeing with the watercolor method (including shades like pink and blue):
- Fill a deep plastic container with hot (not boiling) water.
- Add your dye and mix thoroughly. The water should look vibrant.
- Submerge one weft at a time, let it soak for 30–60 seconds.
- Start squeezing out the dye water from the top to the ends while holding the extensions gently.
- Follow the sequence of dipping and squeezing until the color achieves your desired level.
- When water lightens, you should add more dye to maintain consistent color strength.
Step 4. Processing Time
Once you've applied the dye:
- To protect the extensions from drying out, use plastic wrap as a covering.
- Let them sit for 20–40 minutes, depending on the dye instructions.
- During the middle of the time frame, inspect a small portion of hair using a paper towel dab. Use your brush to reapply color if necessary.
- Do not leave dye on longer than recommended, because extended application can result in dryness or over-processing.
Step 5. Rinse and Care
After the processing time is up:
Rinse thoroughly:
- Use cool water at low pressure.
- Let the water flow from top to bottom, just like how hair grows.
- Gently run your fingers through to help remove excess dye.
- Maintain rinsing for 15–20 minutes until the water turns completely clear.
Cleanse and condition:
- For regular dye applications: Use sulfate-free shampoo specifically designed for colors.
- For the watercolor method, you should avoid shampooing because it causes the semi-permanent dye to fade.
- Use a sulfate-free deep conditioning treatment that will restore moisture to the hair.
- Rinse the conditioner thoroughly after it has been left on for a few minutes.
Step 6. Dry and Detangle
- Use a towel to gently pat the wefts—do not wring or twist them.
- Lay them flat on a dry towel to air-dry completely.
- Heat tools such as blow dryers should always be avoided, especially when hair remains damp.
- The extension drying process should start after they reach an almost dry state, followed by the application of leave-in conditioner and brushing with a wide-tooth comb to prevent shedding.
Step 7. Style Your Extensions
Your extensions are ready to style after they have dried completely.
- Use a heat protectant spray before applying any heat tools.
- Begin with your natural hair styling (waves, curls, or straight).
- Apply heat to the extensions to form waves or curls and then secure them in your styled hair.
- Begin at the base and work your way up with various weft sizes to create a natural look.
- Lightweight hairspray should be used to finish the style after applying hair oil to the ends for shine and hold.

How to Take Care of Dyed Halo Extensions
The proper maintenance of dyed halo hair extensions ensures they remain soft and smooth while extending their lifespan. Here's how to make them last:
Special Care Requirements
Use only approved products:
Choose a sulfate-free shampoo and conditioner that is designed for halo extensions (such as Gentle Halo Shampoo & Conditioner).
Avoid oils and serums:
The substances fail to penetrate the halo hair, because of which they create sticky or tangled messes
Only use these styling products:
- Heat protectant spray (before using curling or straightening tools)
- Texturising spray (for volume and grip)
Wash sparingly:
The halo requires cleaning every three months or only when it needs washing. The practice of washing your halo too frequently leads to dryness and frizz.
Air-dry only:
Never blow-dry your halo. The halo should dry on its own while you place it flat or hang it.
Longevity Expectations
The lifespan of dyed halo extensions depends on washing and styling frequency because they retain their color for several months. The combination of limited product application with sun exposure works to preserve both texture and color quality.
Touch-Up Recommendations
Tone, don’t bleach:
When your halo starts to lose its color, tone it down one or two shades. The hair will suffer damage when you bleach it.
Use root sprays for quick fixes:
The root sprays function as an excellent solution to merge the halo with your natural hair when your roots become visible.
Go to a pro:
When you need significant refreshes or trims, you should always consult with a stylist. The shape and texture of the hair will suffer damage when you perform DIY cuts or apply strong dyes.
When to Choose Pre-Colored Halo Extensions Instead
Sometimes, it’s better to buy pre-colored halo extensions than to dye them yourself. At ThatHair, we offer ready-to-wear shades that save time and protect your extensions.
- You want a perfect color match without guessing or testing
- You’re not confident dyeing hair or don’t want to risk it
- You want to avoid damage like dryness or patchy color
- You’re short on time and need an instant, wearable look
- You want long-lasting color with less upkeep
Shop Pre-Colored Halo Extensions at ThatHair — available in top shades, for a natural, flawless blend.
Final Thoughts
Dyeing halo extensions is doable, but it takes care, the right products, and time. From prep to post-care, every step matters. Still, if you want a quicker, safer option, pre-colored extensions are the way to go.
FAQs
Q: Can I go from dark to light with halo extensions?
No, we don’t recommend it. Bleaching halo extensions to lighten them can damage the hair, cause patchiness, and alter the texture. Since halo hair is already processed, adding bleach can break it down further. If you need a lighter shade, it's best to buy pre-colored extensions instead.
Q: How many times can I dye my extensions?
There’s no set limit, but less is more. Each dye session weakens the hair a bit more, especially since halos have already gone through chemical treatments. If you do dye, stick to going one or two shades darker and always use gentle, salon-grade products.
Q: Can I tone my halo extensions?
Yes, but only carefully.
You can tone your halo extensions one or two shades darker. Always apply toner to wet (not freshly washed) extensions for smoother results. Use gentle, tested products, and avoid harsh toning shampoos, which can cause uneven results.
Q: Can I bleach my halo extensions?
No. Bleaching is a hard no for halo extensions. The hair has already been chemically processed, and adding bleach can damage the cuticle, dry out the strands, and lead to an uneven look.
Q: Can I color my halo extensions ombre?
Yes, you can tone your extensions darker at the ends to create an ombre effect. You can also use root touch-up spray to blend dark roots. Just make sure to test any product first and avoid bleaching for lighter blends.
Related Products

Josef Mohamed is a Content Marketer and Web Designer with over 6 years of experience.He brings a wealth of knowledge to his work, making him a reliable source for readers interested in practical insights about beauty. His writing style is straightforward, aiming to provide real facts and avoid common myths in the beauty industry.